I have recently been fascinated with macrame wallhangings since I came across a macrame post on Pinterest. It looked really complicated so I thought that it would be impossible to make one until my mother told me she used to teach macrame plant hangers and they were easy!
Trust me, you can do this! It’s very easy to do. Takes time, but easy. There are endless things you can make with macrame: wallhanging, plant hanger, bracelet, produce bag, table runner, and many more.
With just a few knots, you can make beautiful macrame. To learn these knots, you will need the items below:
- Wooden dowel: You can get this at a dollar store. You can also use a big ring/loop.
- 3 ply cotton cord
NOTE: For all knots, cord #1-#4 are from left to right.
Larks Head Knot
The first thing you have to do is make a larks head knot to attach a cord to a dowel or ring.
- Fold a cord in half.
- Put the loop around a dowel.
- Insert the other loose end on the cord into the loop.
- Tighten it.

That’s it! Easy right? Now do this to all your cords.
Square Knot
Once you are done with the larks head knot for all cords, start making square knots. There are two parts of square knot to make a full square knot.
Square Knot Part 1 (or known as half square knot)
- Choose 2 larks head knot. This will give you 4 cords to work with.
- Take cord #1 and place it on top of cord #2 and #3 and under cord #4.
- Put cord #4 under cord #2 and #3.
- From the bottom, insert cord #4 through the loop that cord #1 made.
- Tighten cord #1 and #4 while pulling cord #2 and #3 down.

Up to this point, you have made a half square knot.
Square Knot Part 2
The second part of square knot is basically the same as part 1 but in reverse. Now we start working with cord #4 first.
- Take cord #4 and place it on top of cord #2 and #3 and under cord #1.
- Put cord #1 under cord #2 and #3.
- From the bottom, insert cord #1 through the loop that cord #4 made.
- Tighten cord #1 and #4 while pulling cord #2 and #3 down.
- Now you have a full square knot.
Spiral Knot
- A spiral knot is achieved by making a half square knot only (see square knot part 1 instruction). Keep on repeating making a half square knot and you will see that the cord will start to spiral.

2. If you want the spiral to go the other way, do only square knot part 2.
Double Half Hitch Knot
You will be using 2 cords at a time for this knot.
- Hold cord #1 in place while cord #2 is behind it. Cord #1 is now called a holding cord.
- Put cord #2 over then under the holding cord.
- Insert cord #2 through the loop.
- You have made a single half-hitch knot so far.
- Still with the holding cord, put cord #2 over then under the holding cord.
- Insert cord #2 through the loop.

7. Double half hitch knot is done!
Diagonal Double Half Hitch Knot
You will be using more than 2 cords for this knot. Let’s use 4 ropes as an example. Cord #1 is the holding cord.
- Bring the holding cord in front of cord #2, #3 and #4 and hold it diagonally to the right.
- Follow the double half hitch knot
- Keep the holding cord diagonal, and now let’s work with cord #3.
- Follow the double half hitch knot Instead of using cord #2, use cord #3.
- Once done, follow the double half hitch knot instruction again and use cord #4 instead of cord #2.
 6. You now can see how the knot forms diagonally.
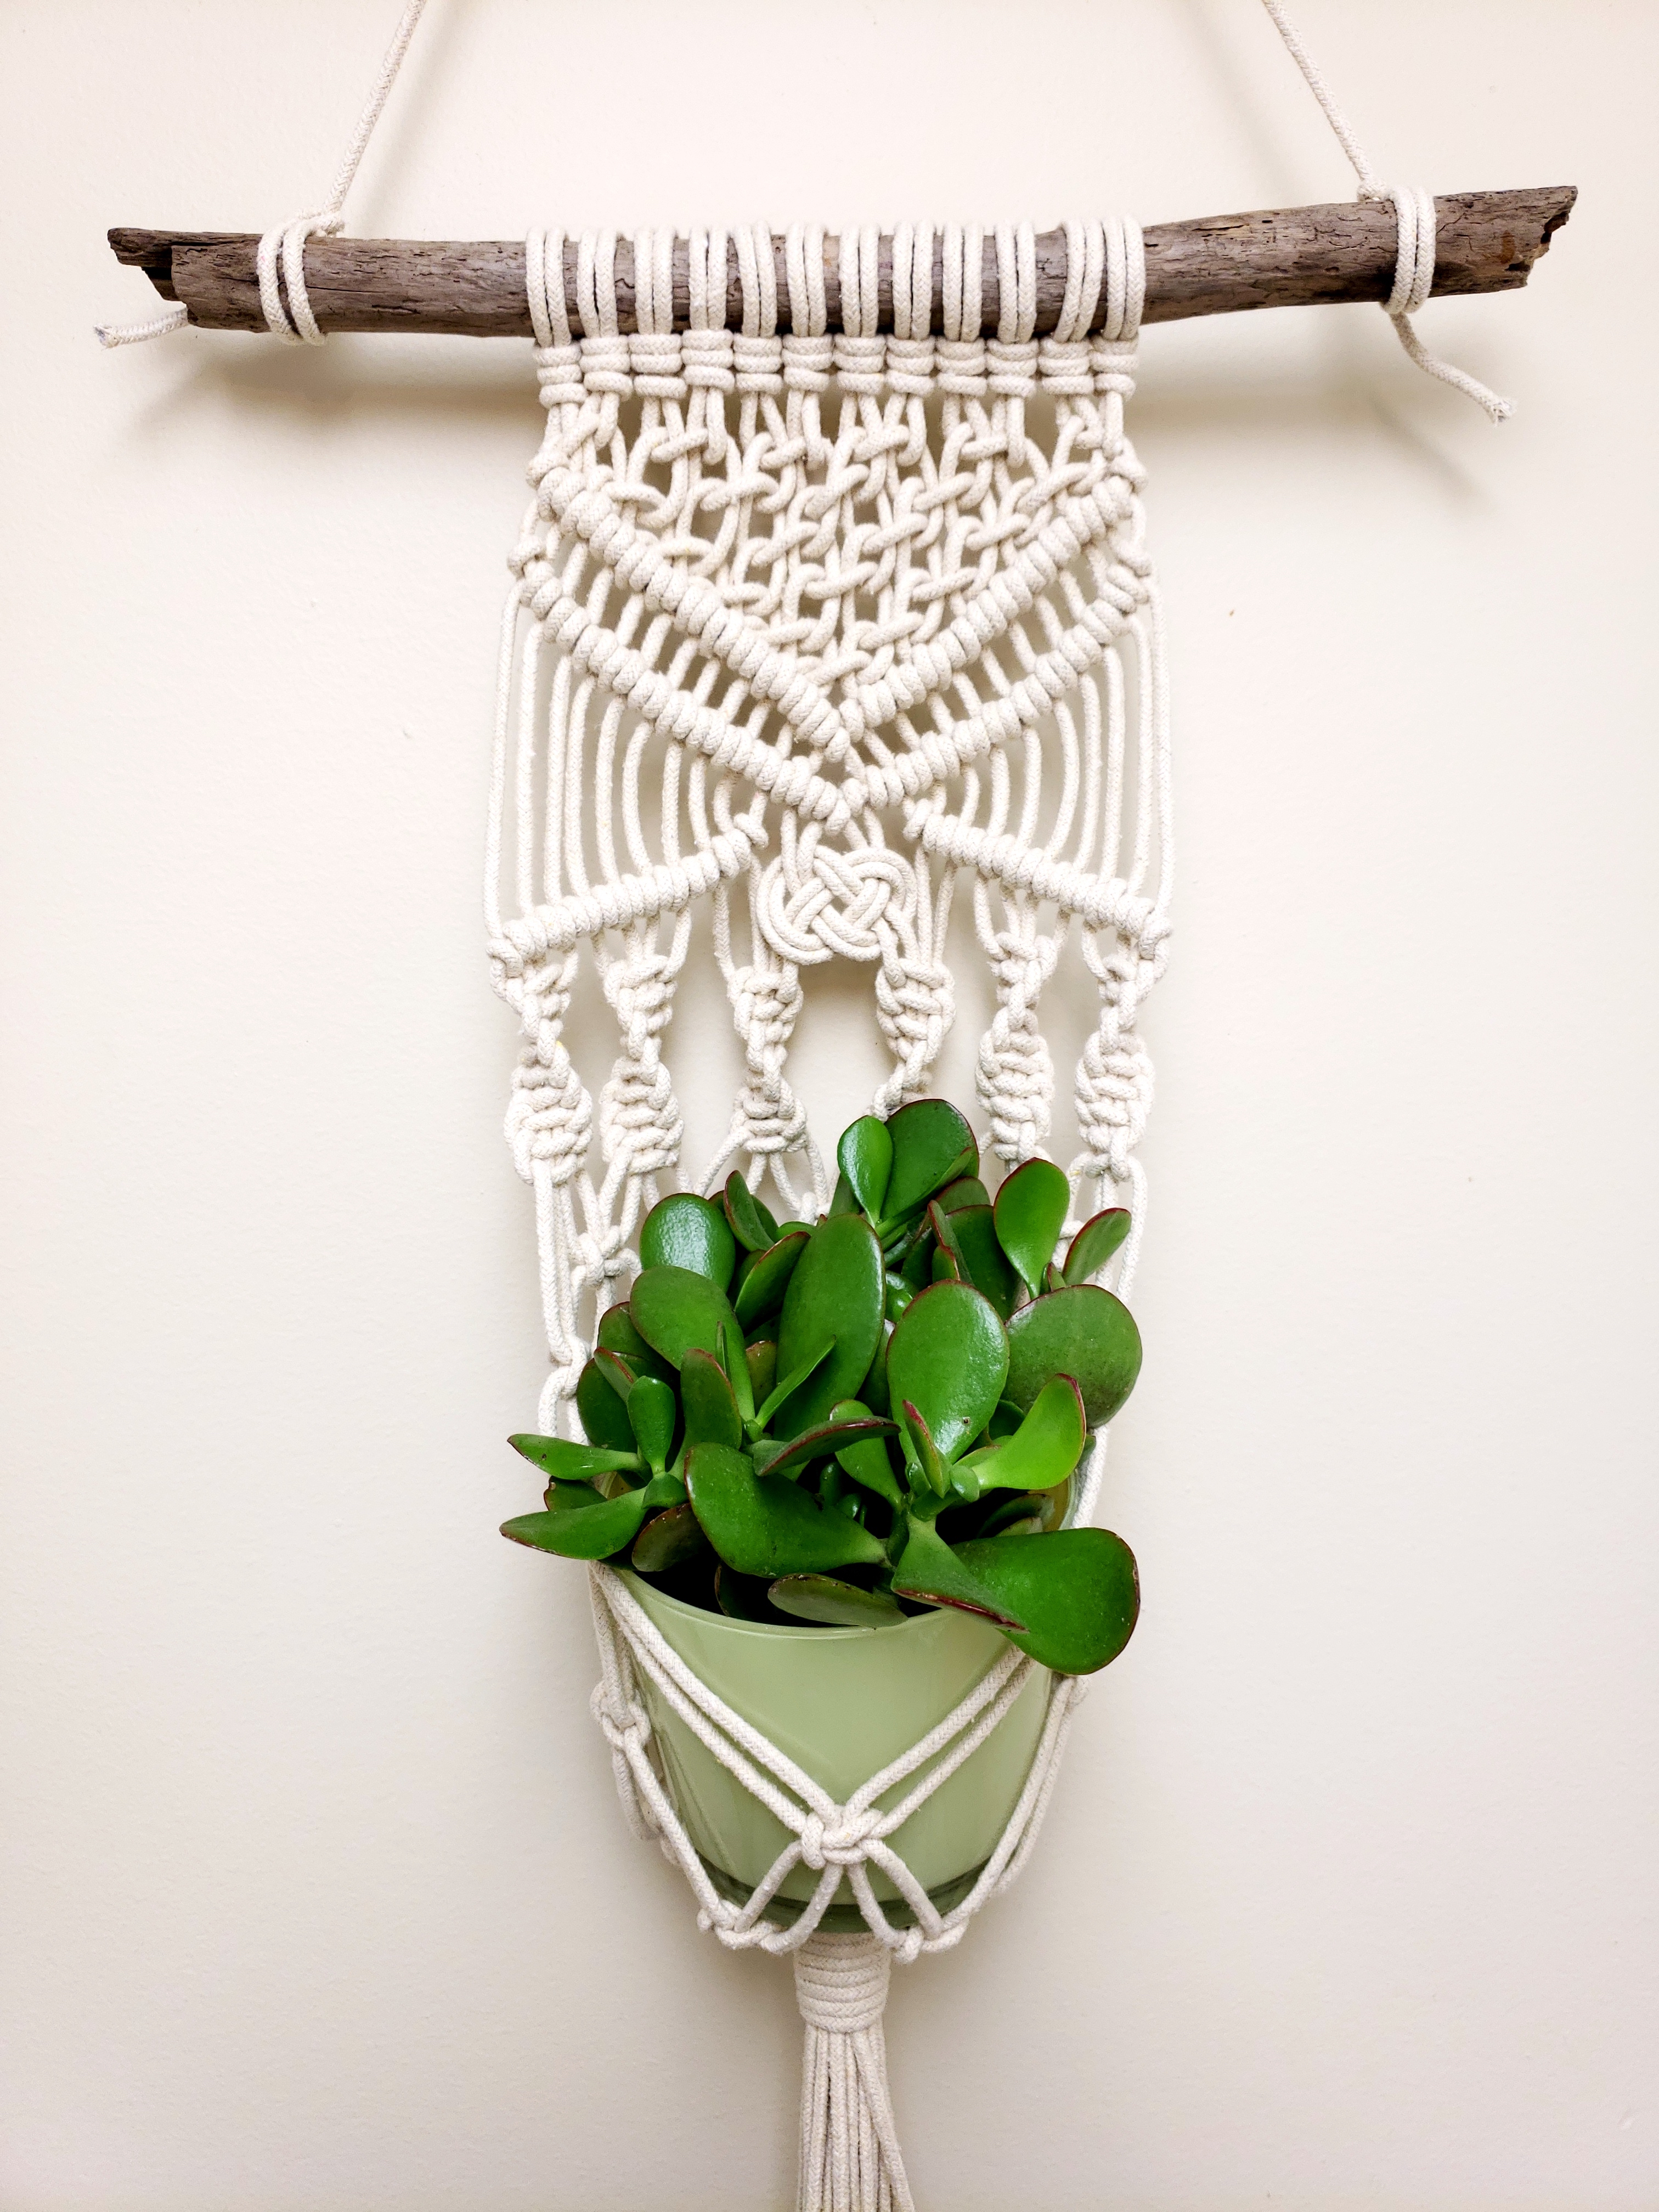
There you have it! All the basic knots that will enable you to make beautiful macrame.


Leave a Reply